
Image projection on 3D models
In this article, I go into detail about how I designed the projected camera animation effect from the photogrammetry alignment. Here is the final video.
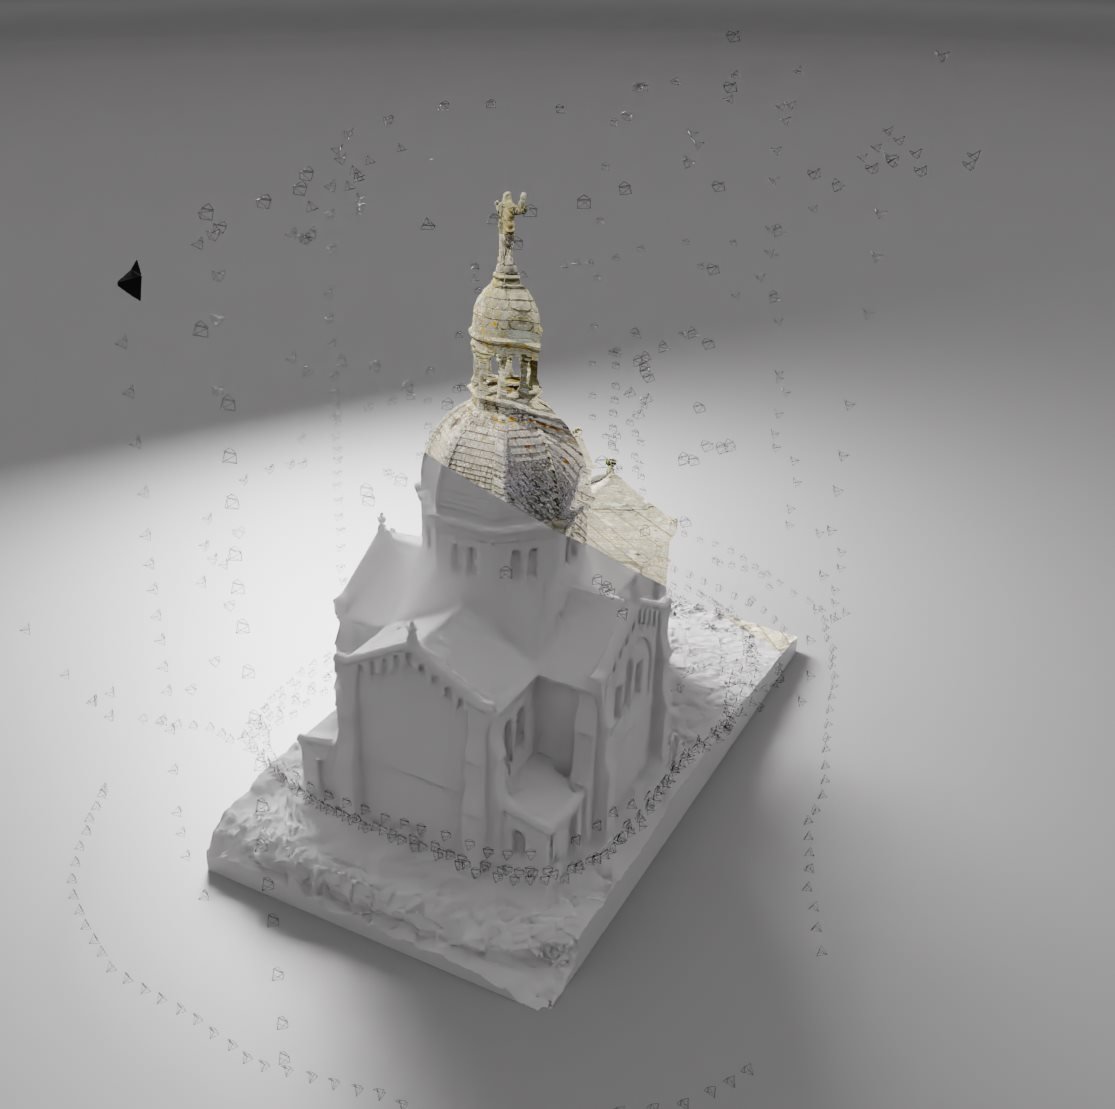
To design this effect, I used the photogrammetry generated on the reality capture software. It is possible via the FBX export tool to include the cameras as well as the undistorted images (which no longer have the deformations due to the sensor, the lens, etc.) The advantage here is that it replaces in the 3D environment automatically all the cameras, they name them according to the name of the attached image.
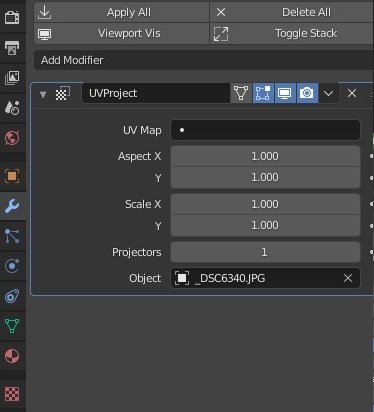
To project an image, it's simple, using the edit [uv project] (https://docs.blender.org/manual/fr/dev/modeling/modifiers/modify/uv_project.html), it is possible to select a camera and the alignment will be done automatically (except for the zoom/proportion to be adjusted) it is only required to have enough geometry (works poorly on large surfaces, here the photogrammetry is dense enough)
What I want is to have the camera visible not only in the viewport, but in the render, and especially, to animate the projected camera, to review each photo of the capture. For that, there is no way (as far as I know) without script, fortunately the api of blender, in python, is accessible !
To replace each camera with a 3D model I used this script :
import bpy
src_obj = bpy.data.objects['camera_mesh'] #the source mesh use to render fake camera
for cameras in bpy.data.collections['camera'].objects: #for each objects of collection "camera"
    new_obj = src_obj.copy() #duplicate original mesh
    new_obj.name = cameras.name #rename it
    new_obj.matrix_world = cameras.matrix_world #Use the transform of camera of the loop
    bpy.context.collection.objects.link(new_obj) #Link object to collection to make it visible in outliner
The meshes here have the same object data, which allows me to adjust more easily all the camera meshes at once, assign a semi-transparent material etc...
Then the script I used to switch from one image to another following the timeline:
import bpy
def on_frame_change(scene): #Function called by handler on_frame_change.
    for img in bpy.data.images: #Remove old img (get heavy when many loaded)
        if not ["texture"]:
            bpy.data.images.remove(img)
    current_frame = bpy.context.scene.frame_current #Assign frame to var
    current_frame_slowed = int(current_frame/2)#Divide framerate for better animation
    CurrentCam = bpy.data.collections['camera'].objects[current_frame_slowed] #select object in collection, by number (frame/2)
    bpy.data.objects['mesh'].modifiers["UVProject"].projectors[0].object = CurrentCam #change the projection camera
    bpy.data.images["texture"].filepath = "C:\\My\\Path\\To\\Images\\"+CurrentCam.name #change the texture
    bpy.data.objects['mesh'].modifiers["UVProject"].aspect_x = bpy.data.images["texture"].size[0] #proportion vary from image to another
    bpy.data.objects['mesh'].modifiers["UVProject"].aspect_y = bpy.data.images["texture"].size[1]
    bpy.data.objects['camera_mesh'].matrix_world = CurrentCam.matrix_world #move transform of mesh camera to current true camera
    bpy.data.objects['Empty'].matrix_world = CurrentCam.matrix_world #also move empty used in shader (via driver) for projection

# Following code allow to select the camera and set it as active.
#    bpy.ops.object.select_all(action='DESELECT')
#    CurrentCam.select_set(True)
#    bpy.context.view_layer.objects.active = CurrentCam  #select it
#    bpy.context.scene.camera = CurrentCam

handler = bpy.app.handlers.frame_change_pre #Define handler type (here it execute on frame change, before doing pre-process render like BVH)
handler.clear() # Remove old handler (to avoir multiple function at same time when modify this scipt)
handler.append(on_frame_change) # Add this handler
I use a handler function which allows me to execute the function not only once but during an event (here the frame change on the scene)
A last step in this project was to find a solution so that the projection is done only once (to avoid having the projection going through the whole model). I had a little bit of trouble to find out how to do it, there are addons allowing to easily project via a lamp, but the lamp uses cycles to diffuse photons on an object, which will bounce back afterwards, which is not what I want.
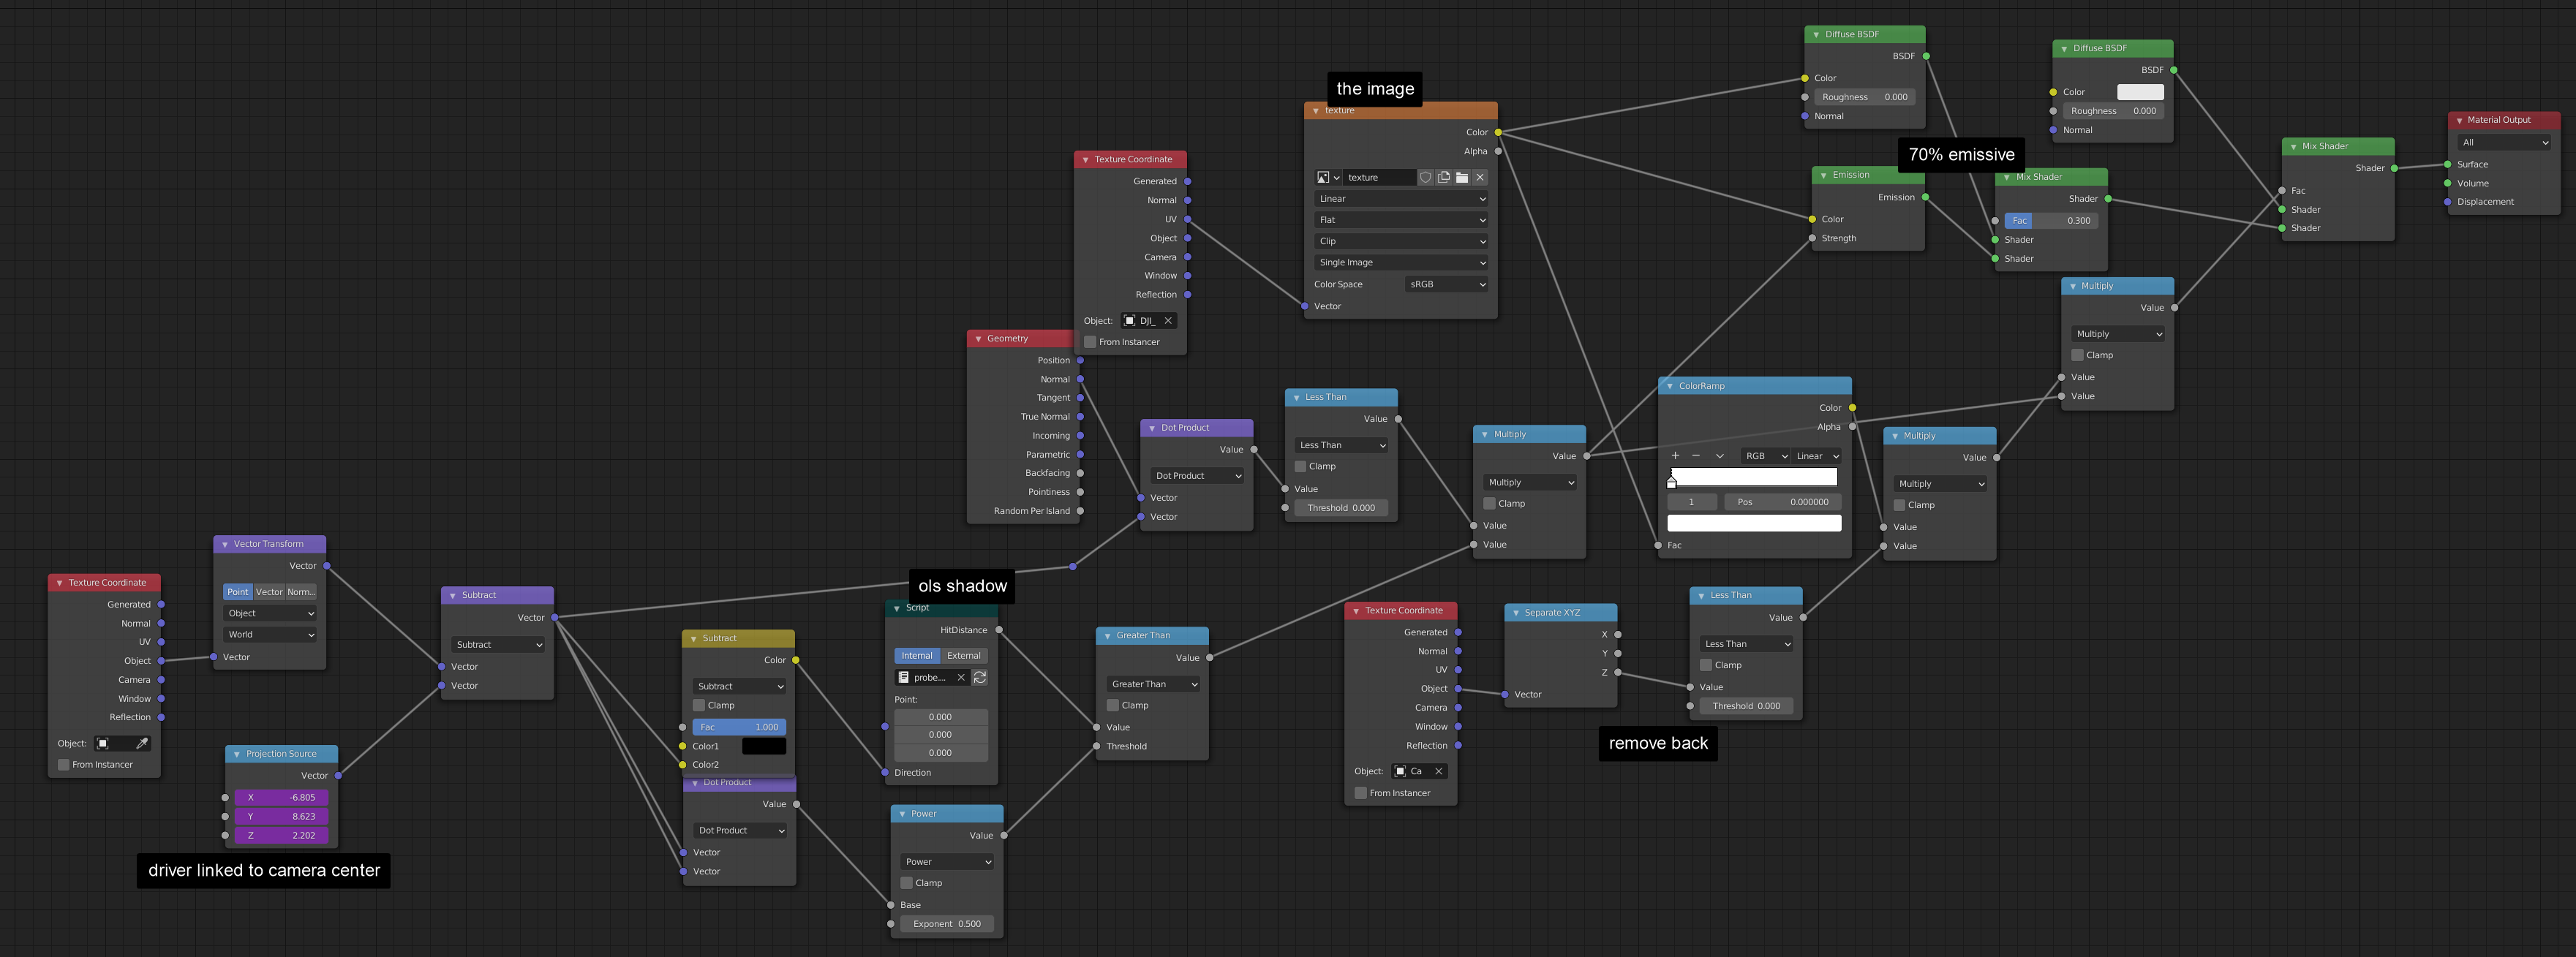
Fortunately, I came across this post on blender.stackexchange, from someone who was asking the exact same thing. The solution someone posted in response is to use the trace point function of OSL. Open Shading Language works only on cpu cycles, but lets you code a shader which here allows to trace the shadow to delimit the projection area.
Here is the final shader:
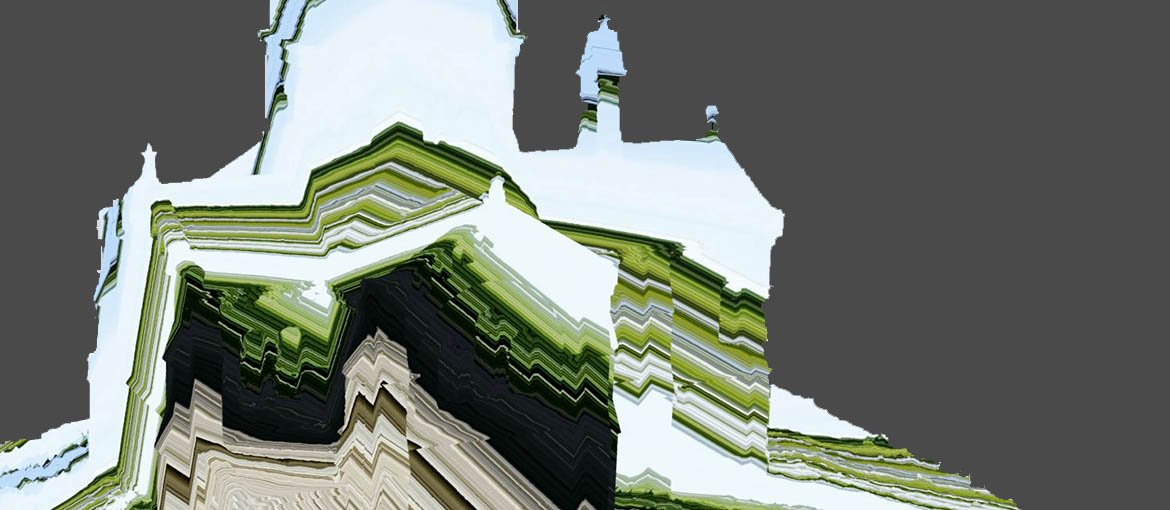
And finally, here is the result :